
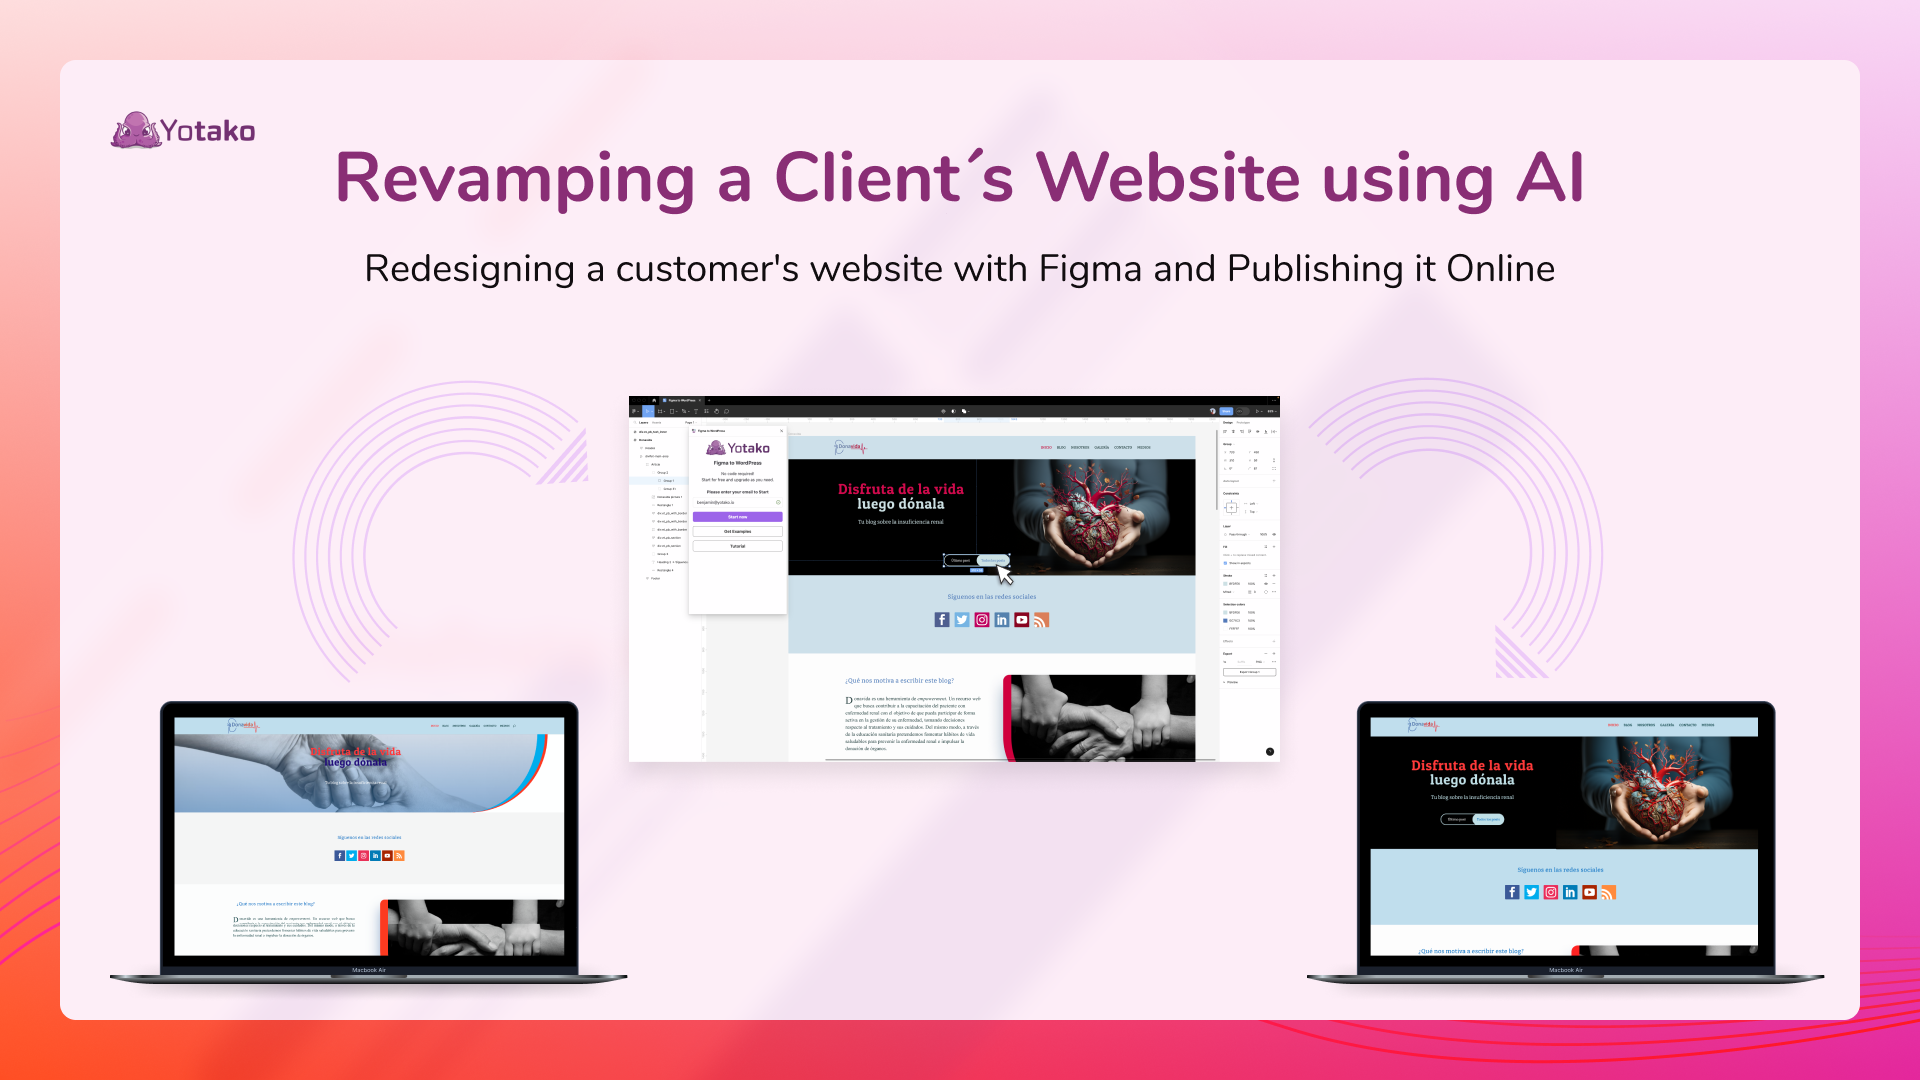
Updating a customer´s website with AI

If you prefer the video version there's a full video tutorial available on YouTube titled "Refactoring UI."
Redesigning an existing client's website is often a slow and painful process for web designers. The need to manually replicate the current site within your design tool just to make minor changes, followed by the task of constructing everything from scratch to translate your design into an actual website, significantly elongates project timelines.
However, it doesn't have to be this way. In this tutorial, I'll show you how to simplify client redesigns using the superpowers of two plugins: HTML to Design and Figma to WordPress.
With these two Figma handy plugins, you can:
- Instantly import a client's live site into an editable Figma file.
- Quickly rework the design and layout.
- Get a functioning rebuilt site live in no time.
- Export a WordPress theme from the dashboard.
Let's look at how to streamline each step.
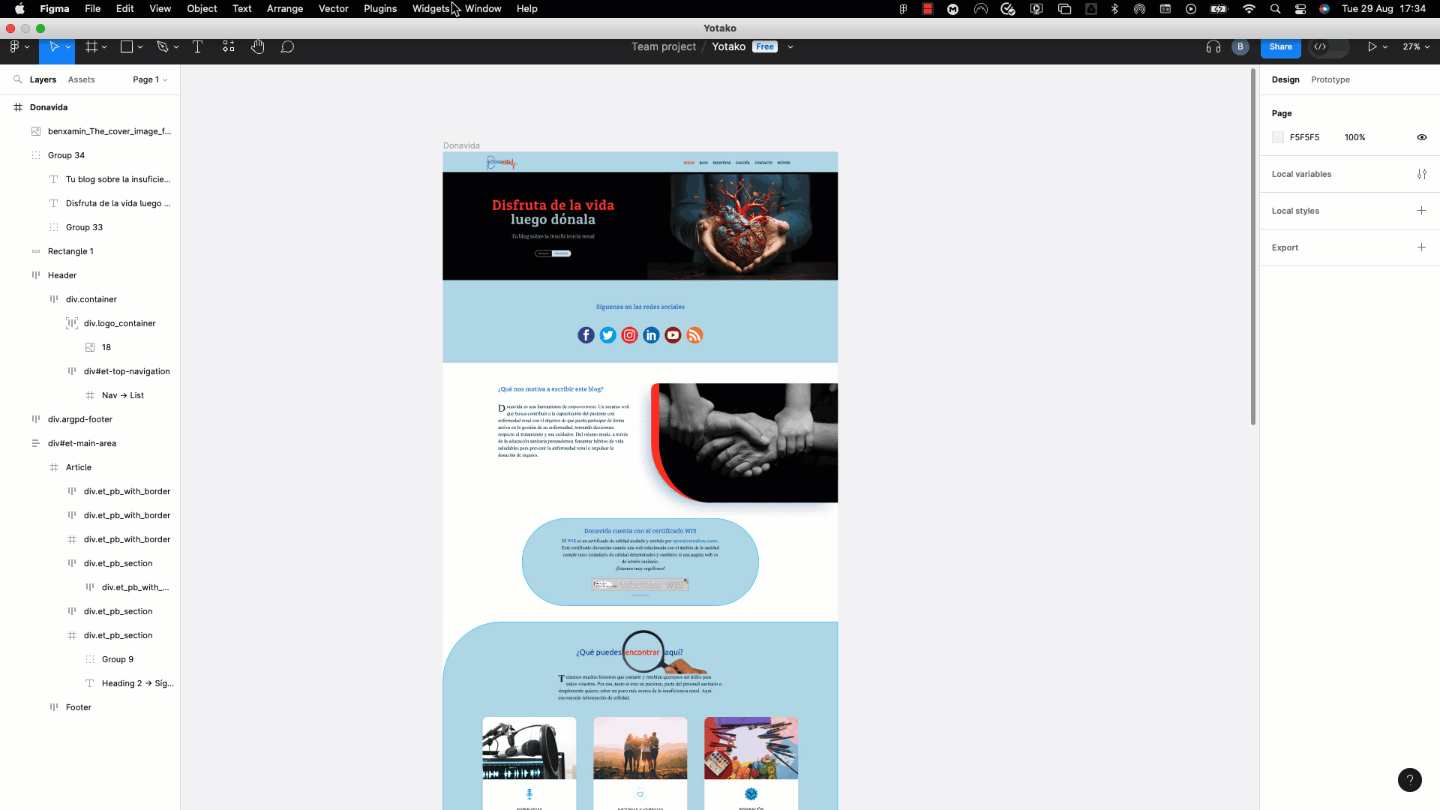
Import the Live Site Into Figma
To begin, you need the client's current website in Figma for design. The HTML to Design plugin handles this instantly.
Simply:
- Get the live site URL from the client.
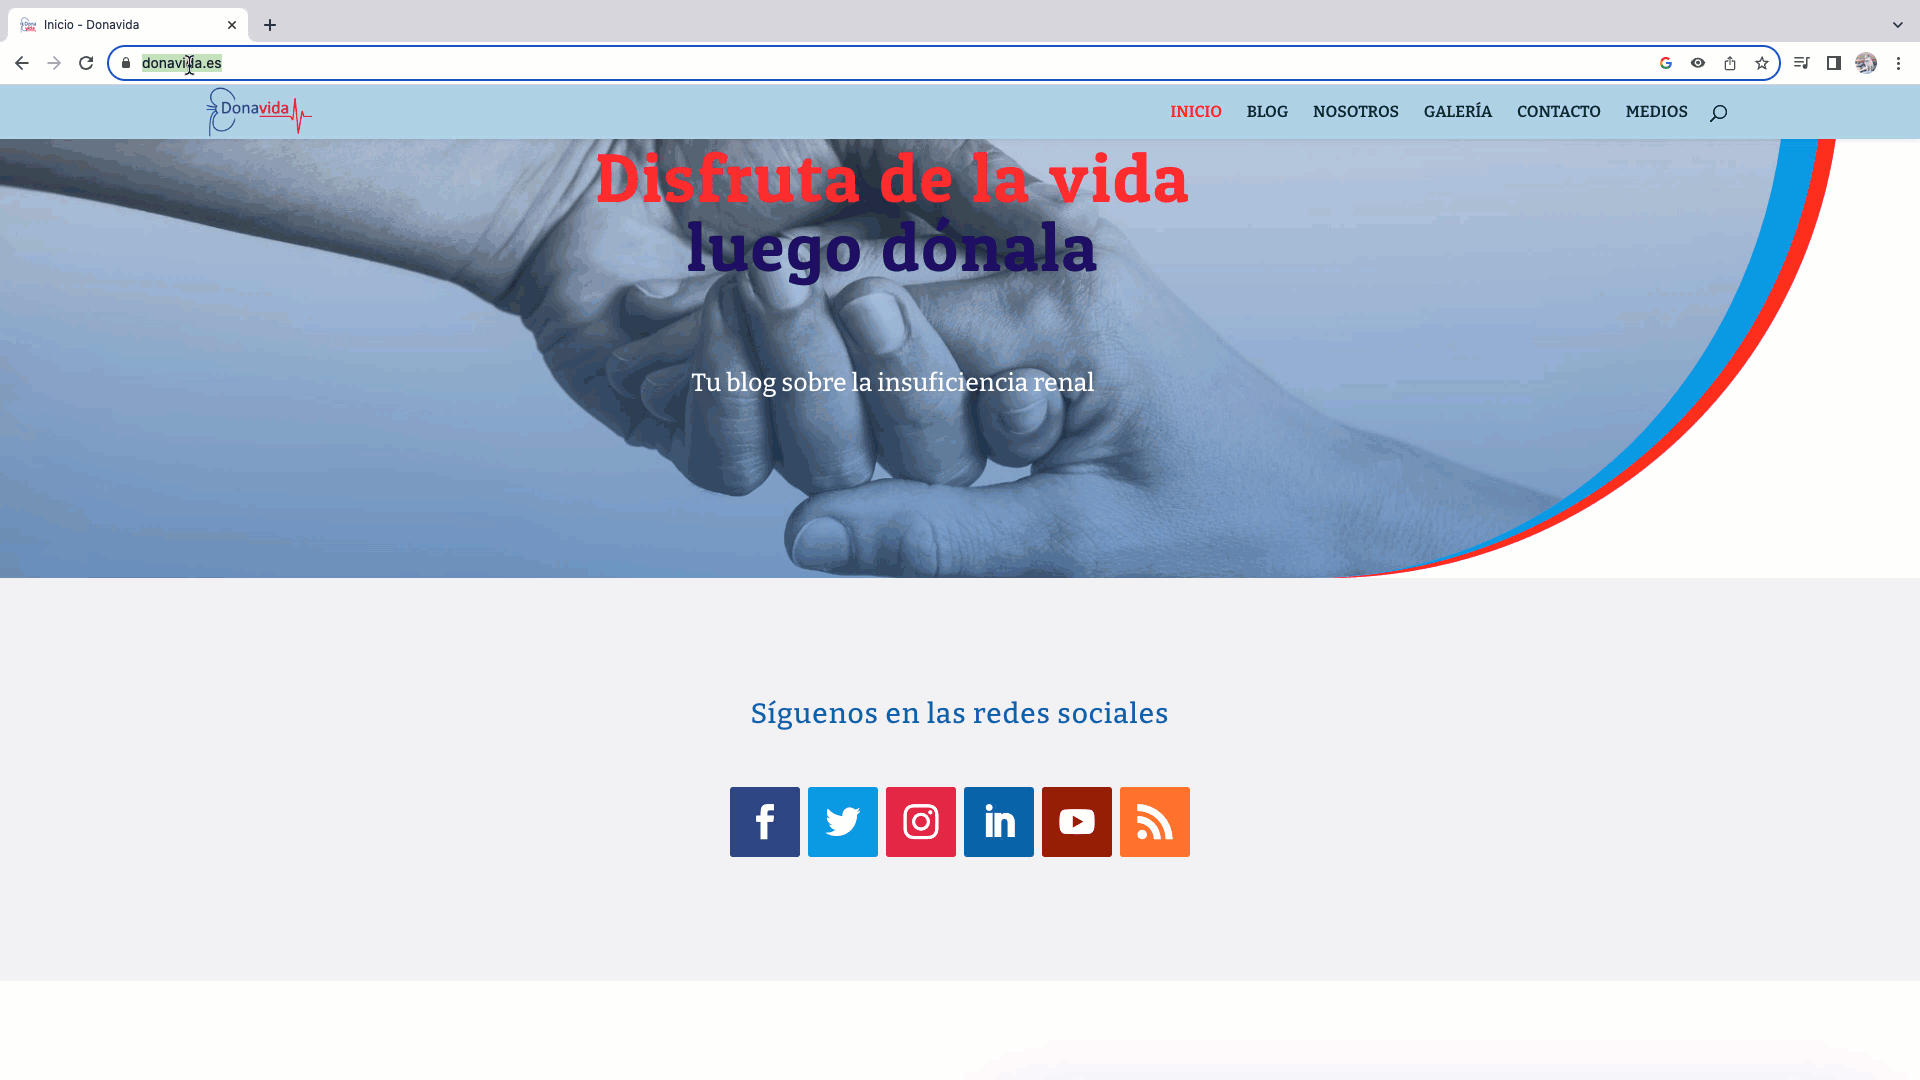
2. In Figma, open the Plugins menu and select "HTML to Design".
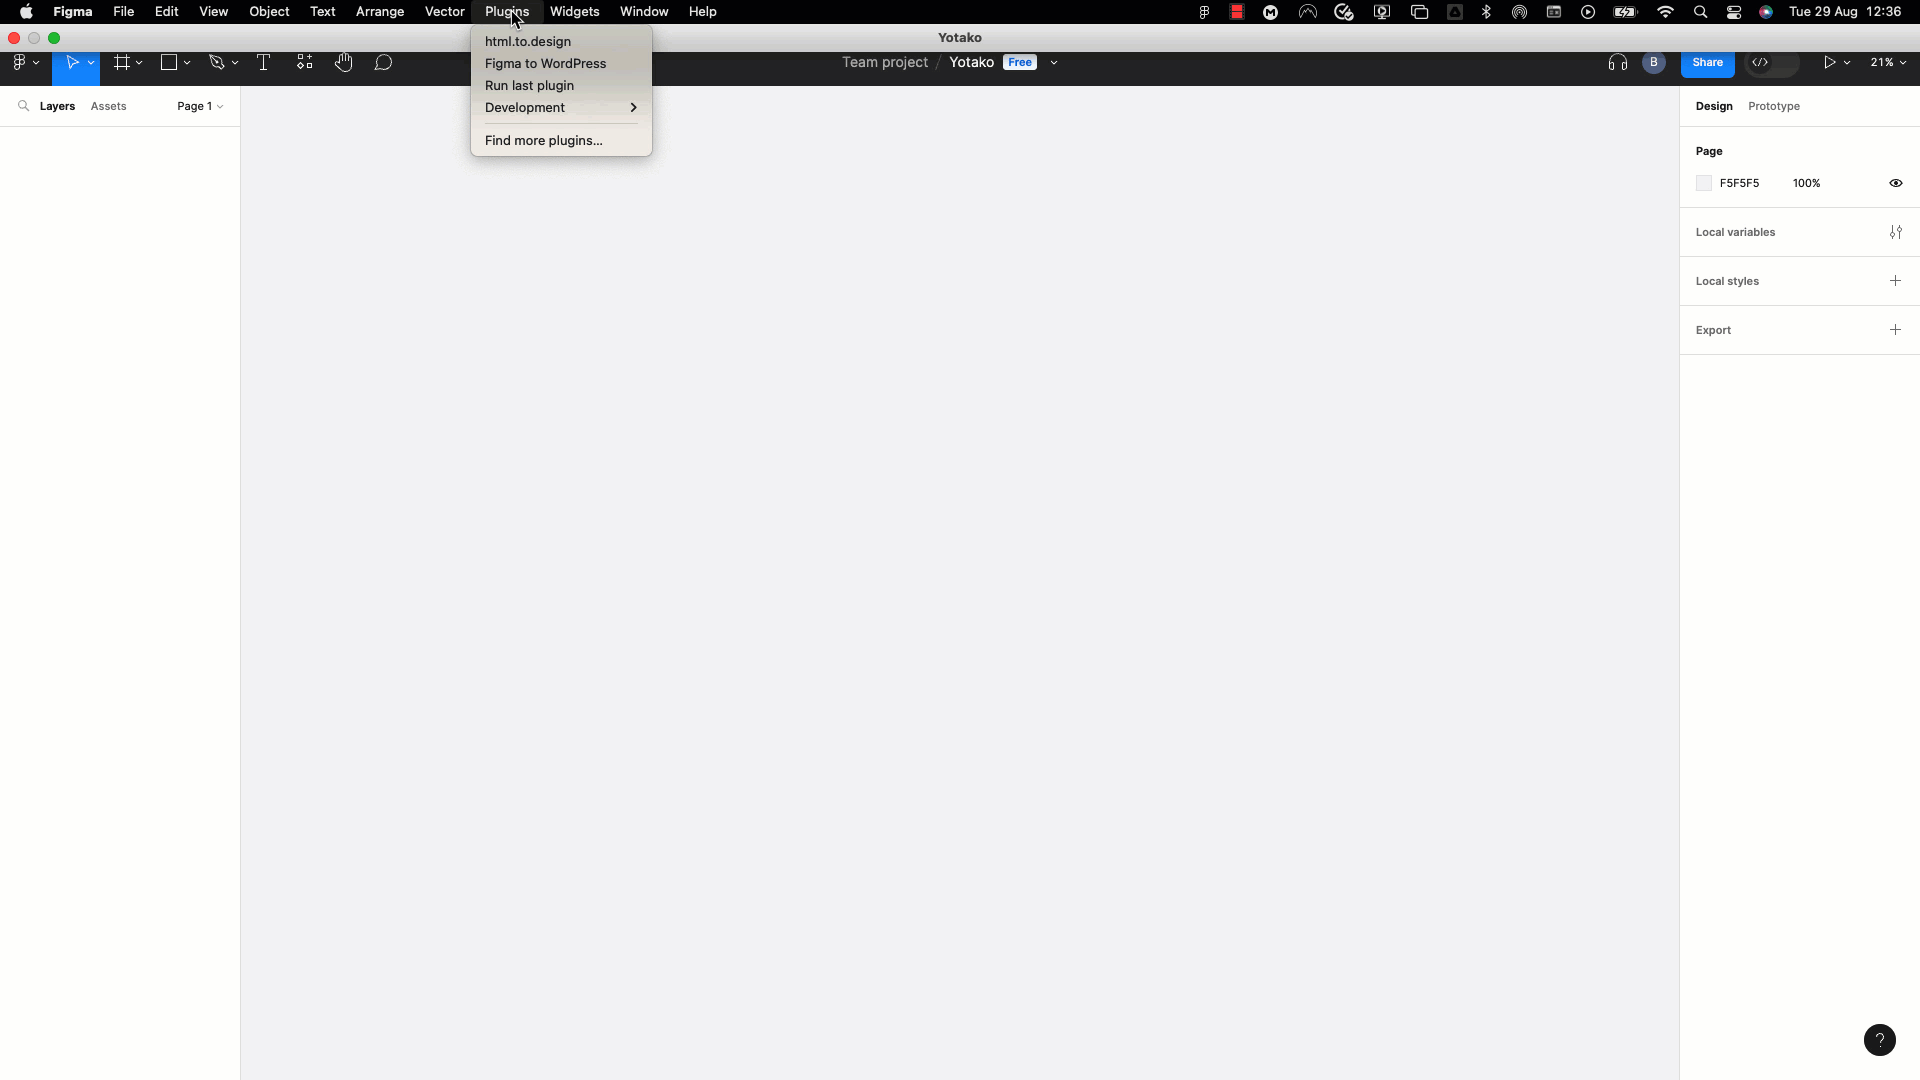
3. Paste in the URL and click "Import".
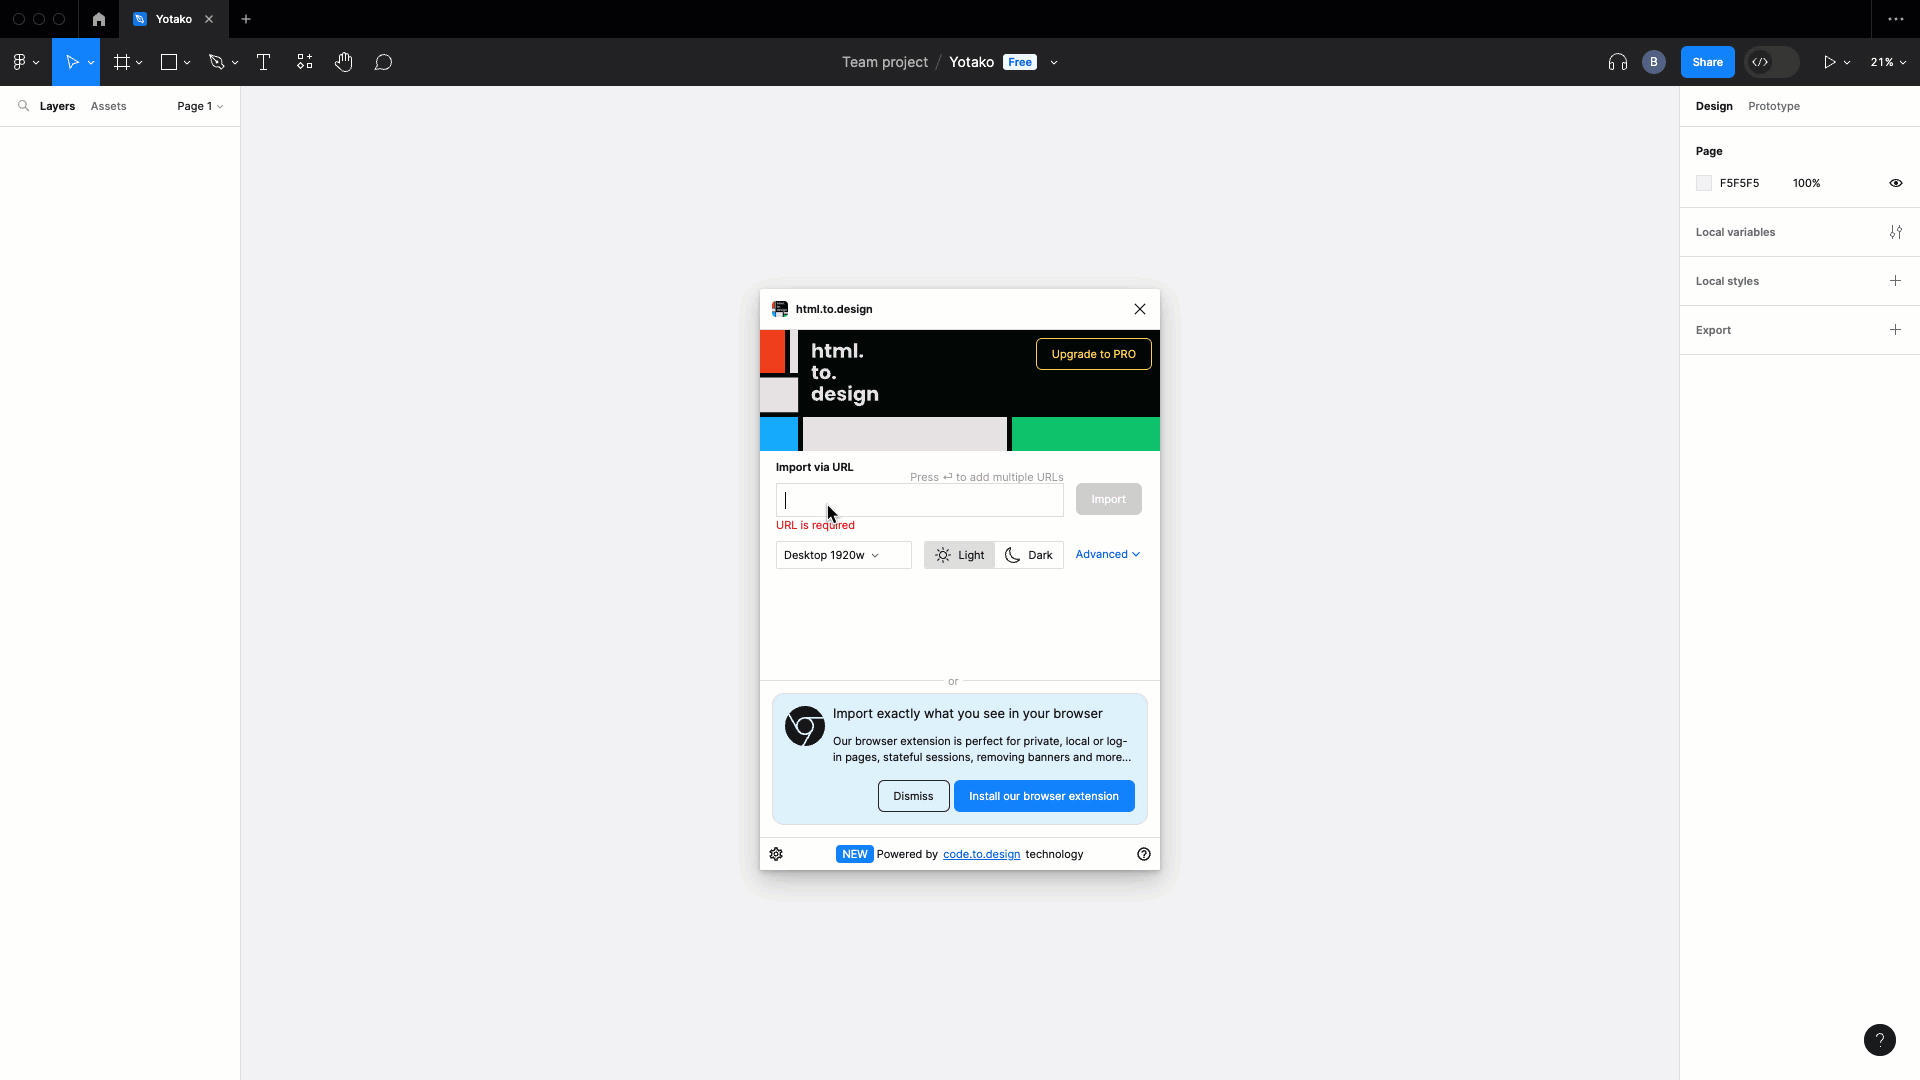
Figma will download the entire website and open it as a new file with all the pages and components editable.
Now you have the live site in Figma format to start redesigning!
Rework the Design in Figma
Here's where the magic happens. With the real website imported, you have total freedom to reimagine the design.
Experiment with:
- Restructuring layouts for better UX flow.
- Trying new color schemes and fonts.
- Adding/removing sections.
- Designing new components.
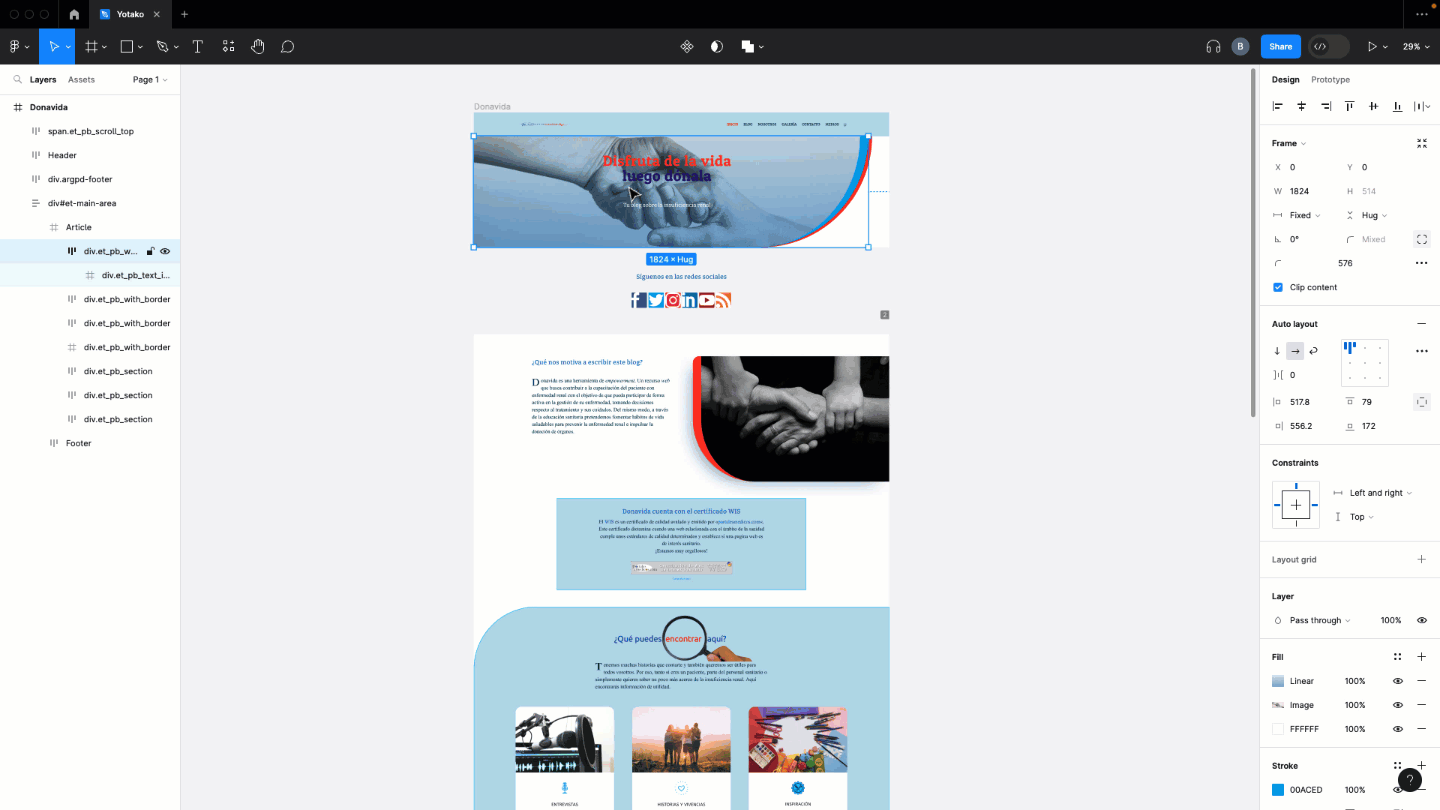
Figma's vector tools let you quickly mock up and iterate on concepts. Play with creative ideas to craft a new and improved site design.
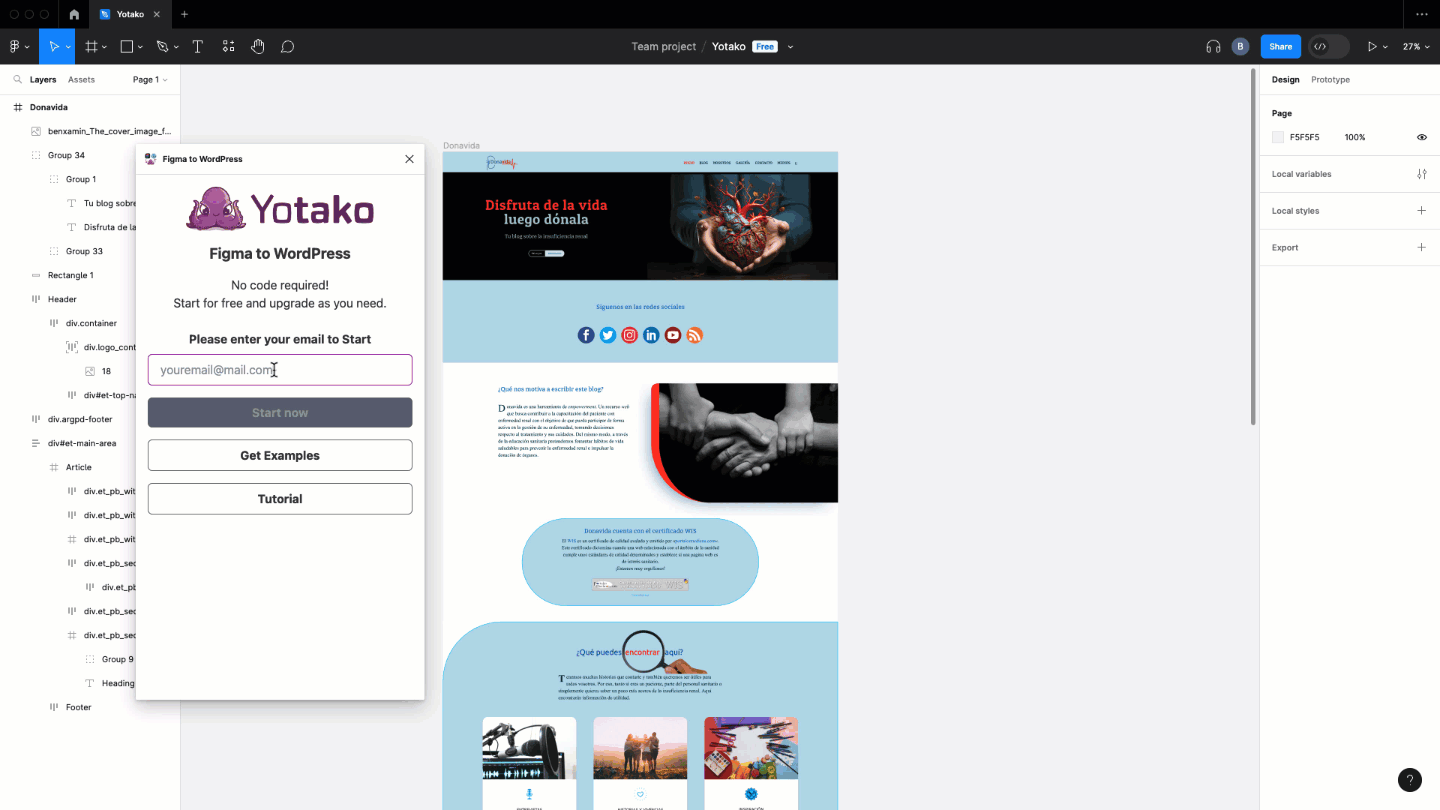
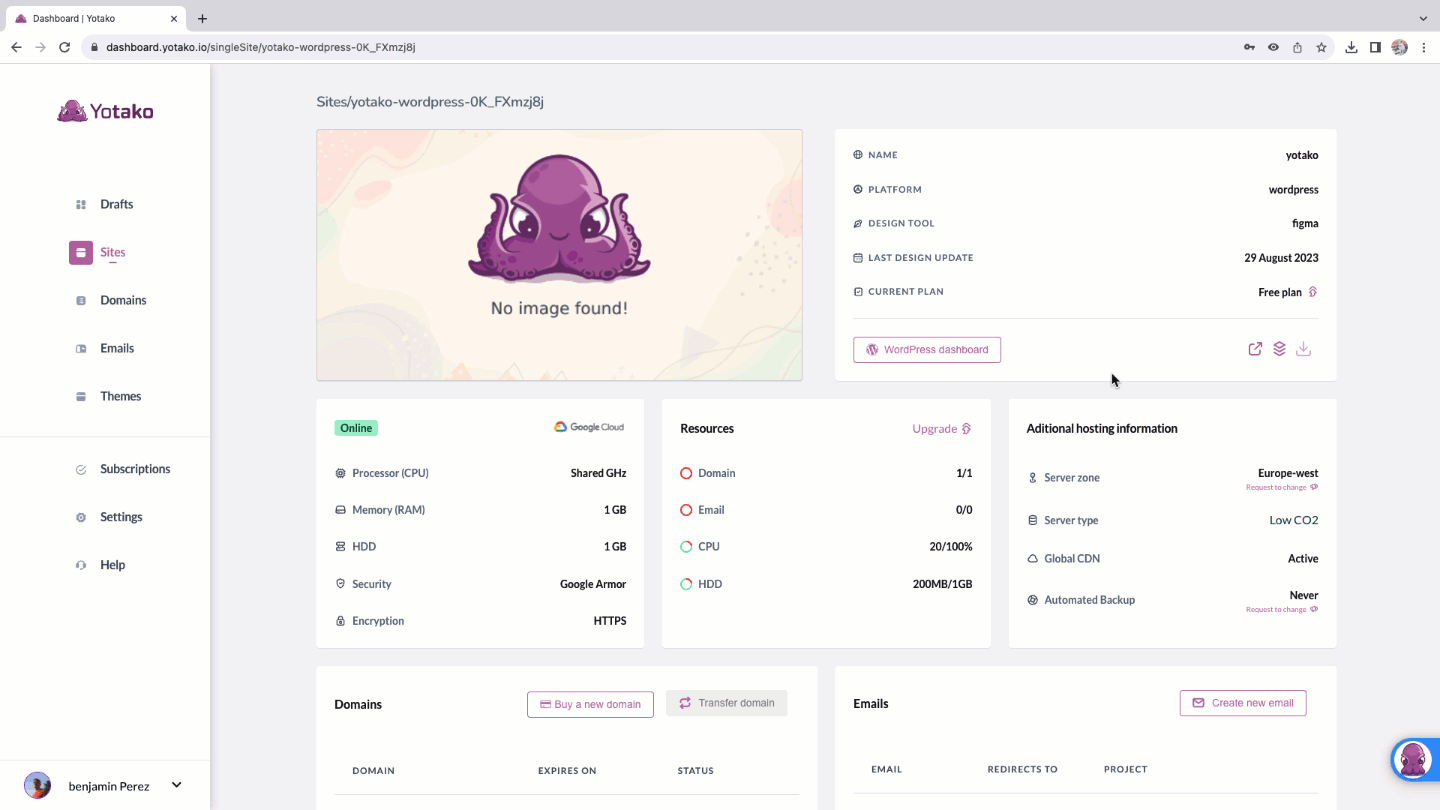
Generate a WordPress Theme with AI and Yotako
Once you have a solid redesigned website concept in Figma, use the Figma to WordPress plugin to create a WordPress theme file or publish online directly.
Here is how the Figma to WordPress plugin works:
- In Figma's Plugin menu, open "Figma to WordPress"
2. Follow the easy steps
After a few minutes of building, you'll have a live WordPress site and you will be able to download your website as a WordPress theme.
3. Pick a free plan and domain name for your WordPress site
Once is published, you can click through the WordPress site to see your design live. The theme will look exactly like your Figma design.
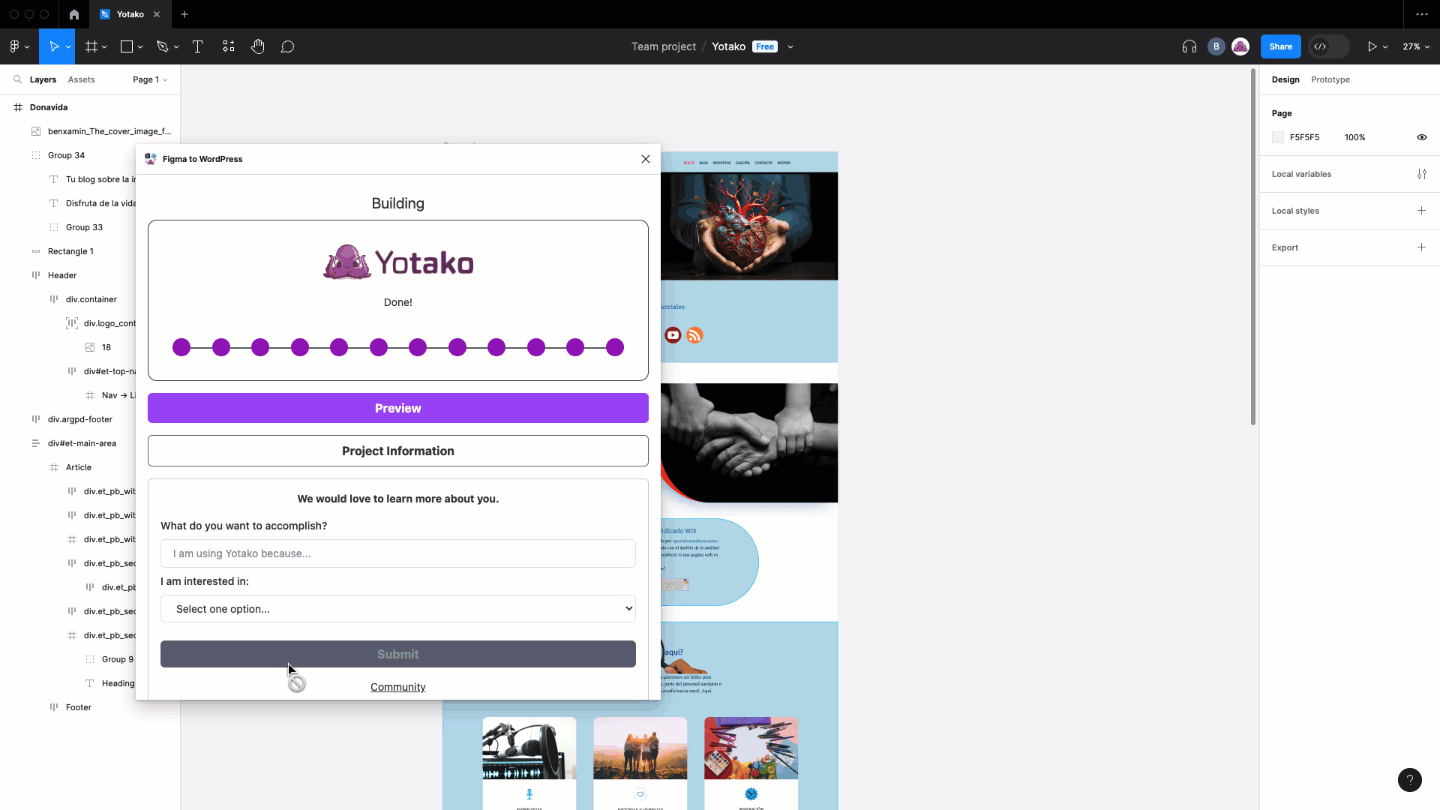
4. Download the .zip theme file from the dashboard to get the source files.
Launch the Redesigned Site
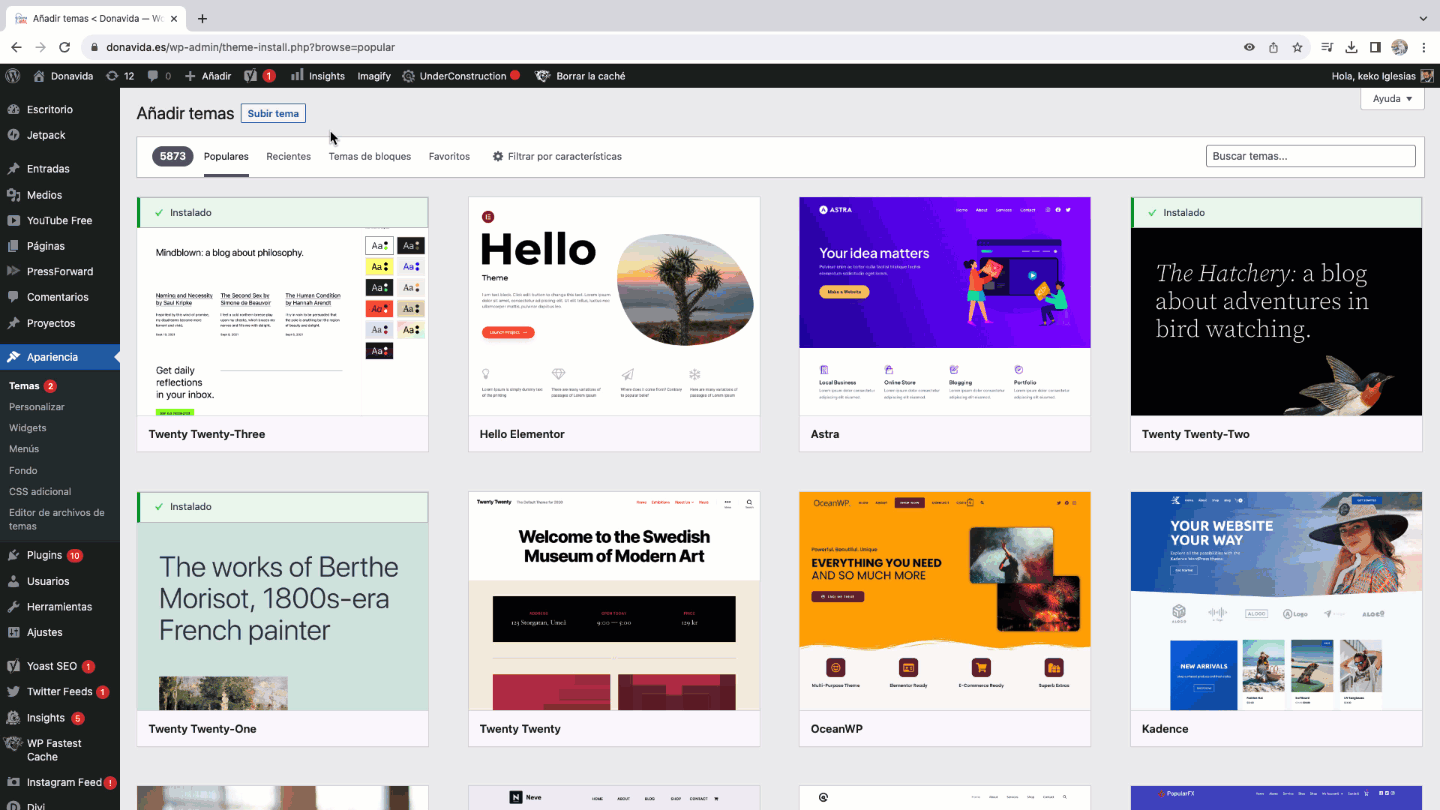
Have the client review the live site and provide feedback. Tweak the design in Figma as needed and re-export an updated theme.
When you are prepared to launch, download the WordPress theme from the Figma to WordPress dashboard, and then upload the new website into your client's WordPress dashboard through the "Themes" section.
No more starting from scratch! Figma's integrations revolutionize the client redesign process.
Transform Websites Visually and Functionally
Figma eliminates the manual busywork of traditional client redesign workflows. With its handy plugins, you can update websites visually and functionally in record time.
Next time you need to refresh a client's site, follow this streamlined process. You'll get working versions built and launched faster than ever before.
If you want to learn more, there's a full video tutorial available on YouTube titled "Refactoring UI." Here the short version of the video.
For more information and to explore the endless possibilities of Yotako, including our powerful plugins with AI Figma to WordPress and WordPress for Adobe XD, visit us at yotako.io. If you have any questions, or suggestions, or simply want to connect with us, please, join our vibrant Yotako community. We look forward to revolutionizing your web design experience!
If you want to learn more, there's a full video tutorial available on YouTube titled "Refactoring UI." Here the short version of the video.